
What is it, why is it important and how to keep your graphic designer smiling.
WHAT IS RESOLUTION?
When you see an image on a screen or in print you’re looking at a collection of tiny squares or dots. A digital image is made from tiny squares of light (pixels) emitted by the screen. In print the image is made from tiny dots of ink placed on a surface, like paper, by a printer.
Image resolution refers to either the number of
a.) pixels per inch (PPI) a digital image has ; or
b.) dots per inch (DPI) that create a printed image.
DPI and PPI are often interchangeable in conversation because they both refer to resolution.
The more pixels/dots per inch, the higher the resolution is. The higher the resolution, the more information the printer or screen will recieve, so the output image will show more detail and sharpness in print or on screen.
The fewer pixels/dots per inch, the lower the resolution is. Lower resolution means less information and detail in the image and more visible distortion, especially if the image is enlarged.
A screen resolution of 72ppi is sufficient for digital images, but a resolution of at least 300dpi is required for printed images.
IMAGE QUALITY & PIXELATION
If an image has a resolution of 72ppi, this means it can only provide 72 dots (or pieces of information) per inch. If you enlarge this image beyond its original dimensions, the image will still only have 72 pieces of information to use even though the area or size of the image has been changed. In order to carry out your instructions to enlarge the image, the software you’re using will then try to fill in the missing gaps created by the increased size. It ‘invents’ information, i.e. pixels, by copying the colour information of the nearby existing pixels/dots. The result is an image that looks blurry or out of focus at best, or looks as if it is made of chunky blocks of colour at worst. This loss of quality, particularly the blocky effect, is referred to as pixelation.
Another way of thinking of it is this: I have a 100 piece puzzle. When complete, it shows a pleasing picture of some kittens and has a size of 100cm x 100cm. I then want to make that puzzle bigger so that it fits frame of 1000cm x 1000cm in size. I don’t have any more puzzle pieces, so I achieve this by spreading the individual pieces out evenly. Now there are gaps between the pieces. I can try to fill the gaps by copying the colours of nearby puzzle pieces and painting in the gaps. If I step back far enough and squint I might be able to make out what the original image was but the result doesn’t look very good.
There is no way to increase the resolution, and thus the quality, of an image. The pixel/dot information can only be obtained at source - i.e. in the camera at the time of taking the photo.
IMPORTANT DOS & DON'TS!
DO NOT download images from an image search or social media if you want to enlarge the image or use it in print!
The resolution of a digital image acquired this way is simply not high enough to print sharply. Images found this way may be sufficient for use in digital design if their size (width x height in pixels) is suitably large enough, but you’re in danger of pixelation if you need to enlarge the image in any way. This is a sure fire way to make your graphic designer droop their head and sigh in despair.
DO invest in high resolution photography, either by purchasing stock images from reputable stockists, such as iStockphoto or Shutterstock, or by paying for a photographer.
Yes, this requires spending money, but the result will be excellent quality images that give your graphic designs a professional look. It’s really the best and only way to avoid your designs looking cheap and amateurish. Trust me, you’ll make your graphic designer's day if you can supply high resolution images for them to work with!
DO NOT supply images to your graphic designer in Word documents.
Word compresses images so they lose quality and your designer will struggle to take images out of Word documents to then use in their design software. This is guaranteed to make your designer sad.
DO send your images to your designer as attachments by email.
That way your designer will receive them without compression and no loss of resolution or quality.
DO NOT pop your images in the email body.
Email clients, e.g. gmail or outlook etc, will compress images in the body of an email, so any high resolution image you place there will be compressed down to low resolution to keep the email size small and sendable.
DO use services such as WeTransfer to send your designer any high resolution images that are too large to email.
These services allow the designer to download the image at their end without any loss of size or quality. Bonus, these services are free to use so there’s no excuse really!
TL:DR SUMMARY
The higher the image resolution the better the image quality.
Images with low resolution will distort/pixelate when enlarged.
Avoid images saved from the internet/social media for print!
DO NOT send images to your design in Word or the body of an email!
DO invest in quality stock images or a photographer!

Example of crisp and sharp high resolution image.

Example of pixelation or low resolution distortion.
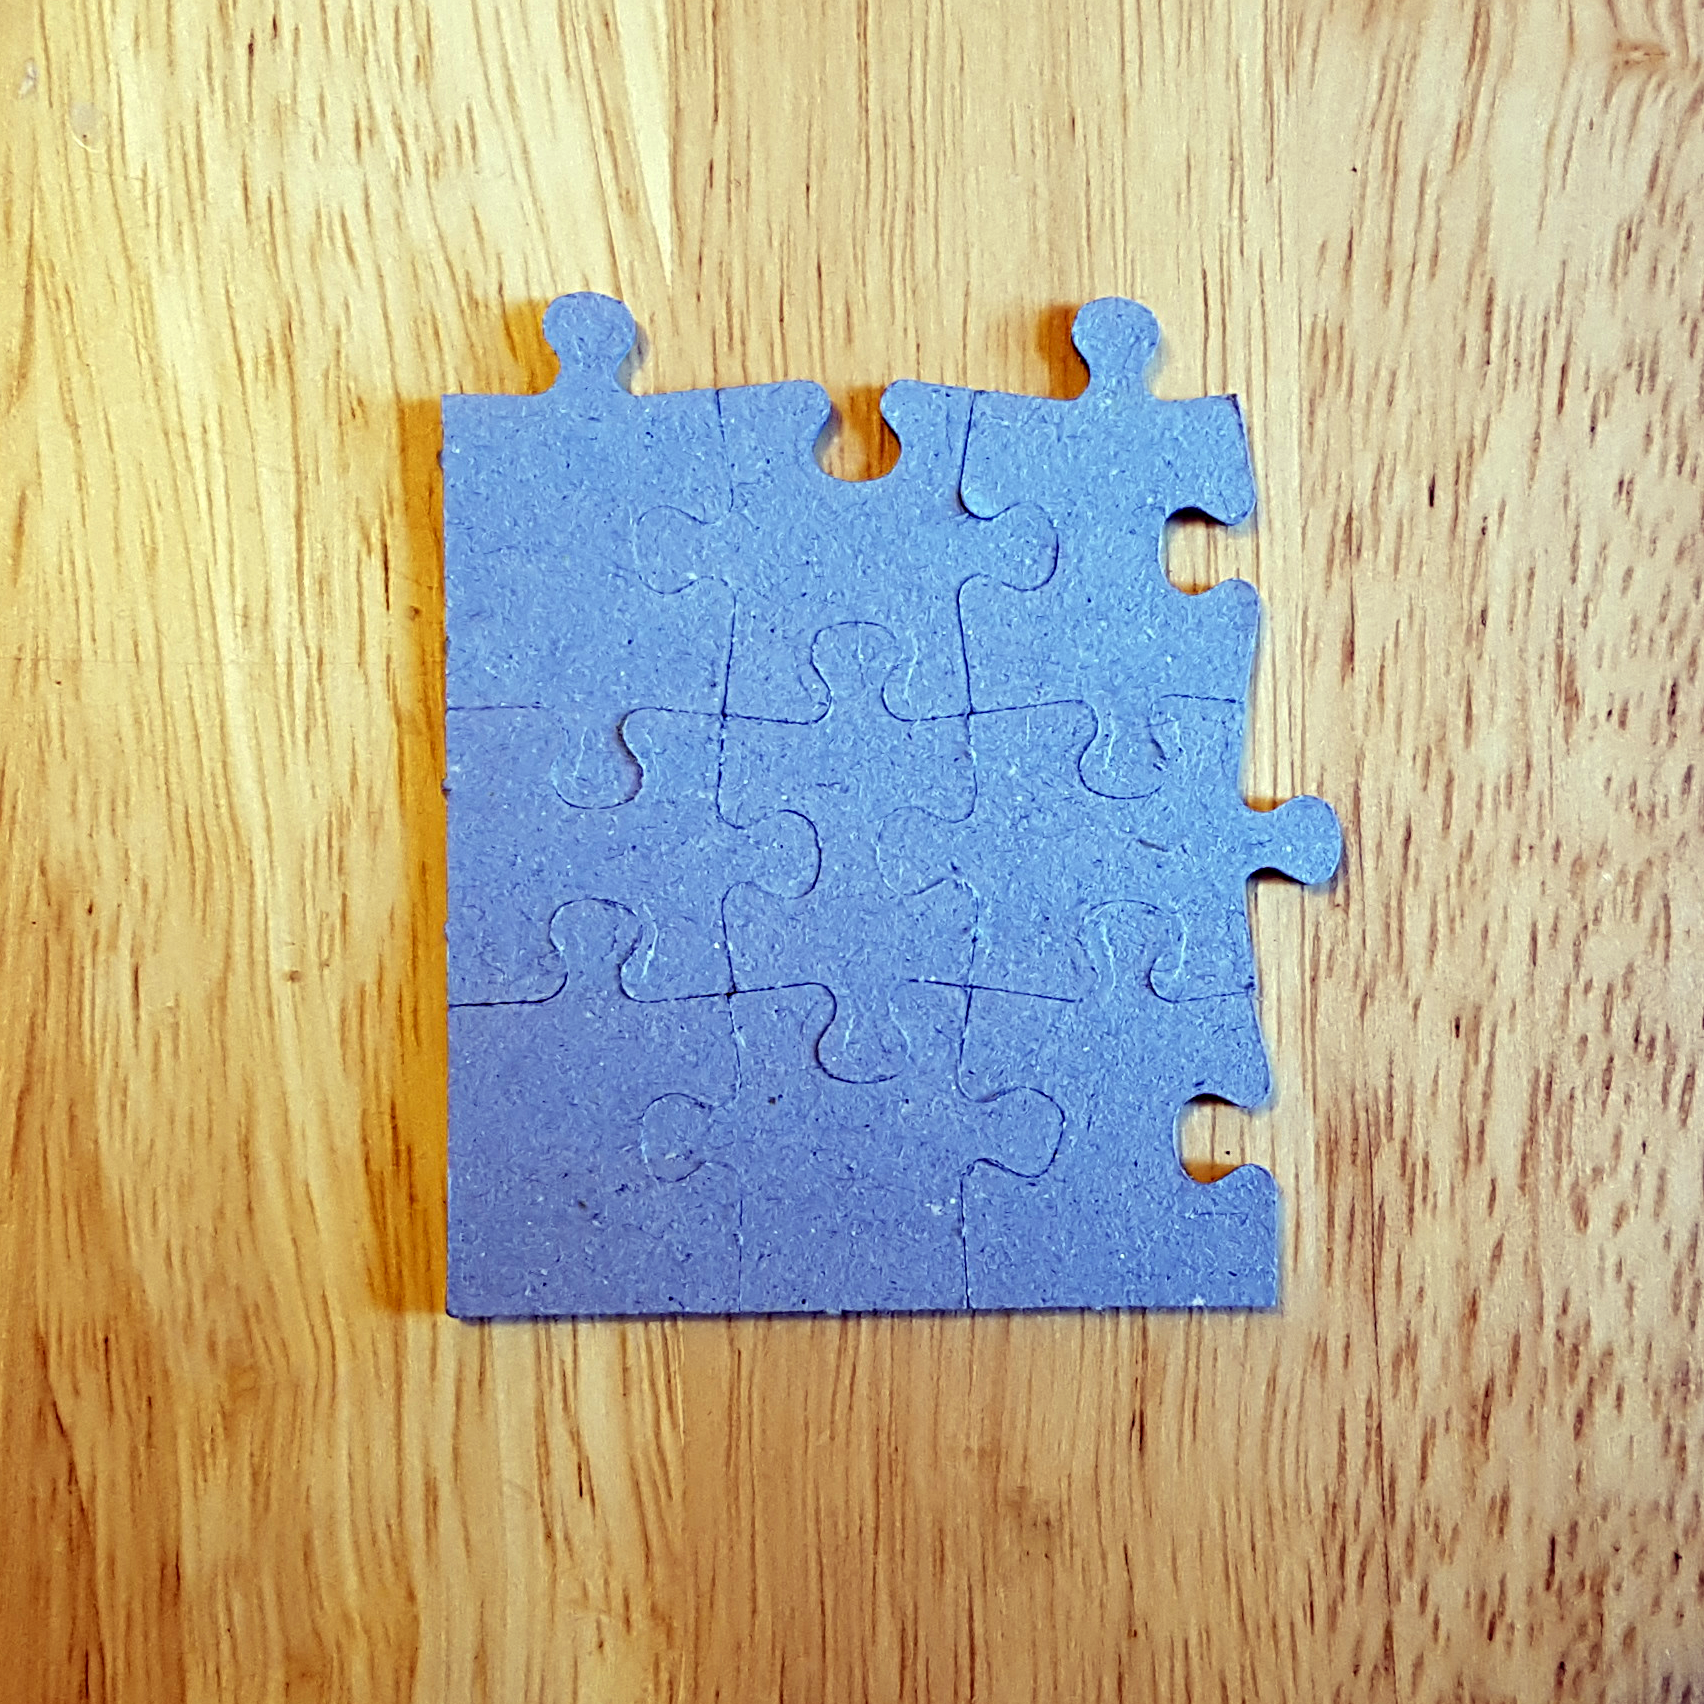
Imagine that each puzzle piece is a pixel...

Enlarging an image size doesn't add any more pixels...
GLOSSARY
IMAGE RESOLUTION
The number of dots/pixels per inch that make up an image.
PIXEL
The single unit for image resolution on screen.
DOT
The single unit for image resolution in print.
HIGH RESOLUTION
Typically anything from 300ppi/dpi upward.
LOW RESOLUTION
Typically anything from 300ppi/dpi downward.
SCREEN RESOLUTION
Images on a screen have a standard resolution of 72ppi.
PIXELATION
The name given to the distortion seen when low resolution images are enlarged.
If in doubt talk to your designer! They are in the best position to advise you about how to best use images in your designs. They'll appreciate being asked and you'll save time and money on getting the right tools for the job.
If you found this post useful, please give it a like and a share so it can also help others - Thank you!